Happy Valentine's Day!
Who knew a Valentine's Day date 12 years ago would turn into this amazing love story of what is Willie and Ashlyn. I am a little bit sentimental when it comes to celebrating today to include wearing the same nail polish I wore on our first date. 12 years strong and my nails are still proudly sporting OPI's Big Apple Red color. No special plans this year except relaxing and spending time with our beautiful daughter. Our weekends are precious time with her so making dinner at home and little things to bring a special twist on the holiday in our home is what we are planning this year.
Valentine's Day is also a very special date for us because it also represents Willie's mother's birthday and also my mother and step-father's anniversary, so we are busy busy trying to celebrate these big milestones.
For the anniversary gift I decided to go with the classic Valentine's pairing...Strawberries and Champagne! Of course, I put my spin on it!
Even though walking through Costco I was VERY tempted to purchase the already beautifully mastered dipped strawberries, but I refused. I said why not create my own for not only the gift but a little extra for the two of us! Doing the strawberries on my own was so much fun and saved us $$. Super simple by just slowly melting the chocolate and adding a little oil (I used coconut) to give it a glossy/smooth texture. After I dipped them in the white or semisweet chocolate I created the stripes by using the leftover melted chocolate and putting it in a ziplock. Just snip the corner ever so slightly and go wild with creating unique patterns! I absolutely LOVE that these look homemade!!
For the champagne bottle I removed the back sticker and then aggressively wiped the sticky goop left with goo gone and it worked! Once completely wiped with water multiple times and a dry towel I was ready to tackle my quote. My mother and step-father got married 2 years ago in Hawaii. It was absolutely stunning and Hartley even made a special appearance (even though I had no idea I was pregnant). My mom walked down the aisle of an acoustic version sung from her Hawaiian wedding planner of "Marry Me" by Train. So, I thought what a perfect quote and reminder of that fabulous day it was. I cannot wait to give these strawberries on this fabulous vintage plate and personalized champagne bottle to them! They are going to love it and I was so proud of my DIY version of this Valentine's Day classic!


This elegant vintage 1950's to 60's era deviled egg plate by Anchor Hocking is a great addition to your kitchen and was a perfect display for my strawberries. It is made from a white colored glass, known as "milk glass" with a gold scalloped rim around the plate. This line was extremely popular as wedding gifts in the 1950's and is so cool to bring a little vintage charm into the your kitchen!
I found the plate at the thrift store for $3.99, which is a steal when prices on other markets go all the way up to $25!

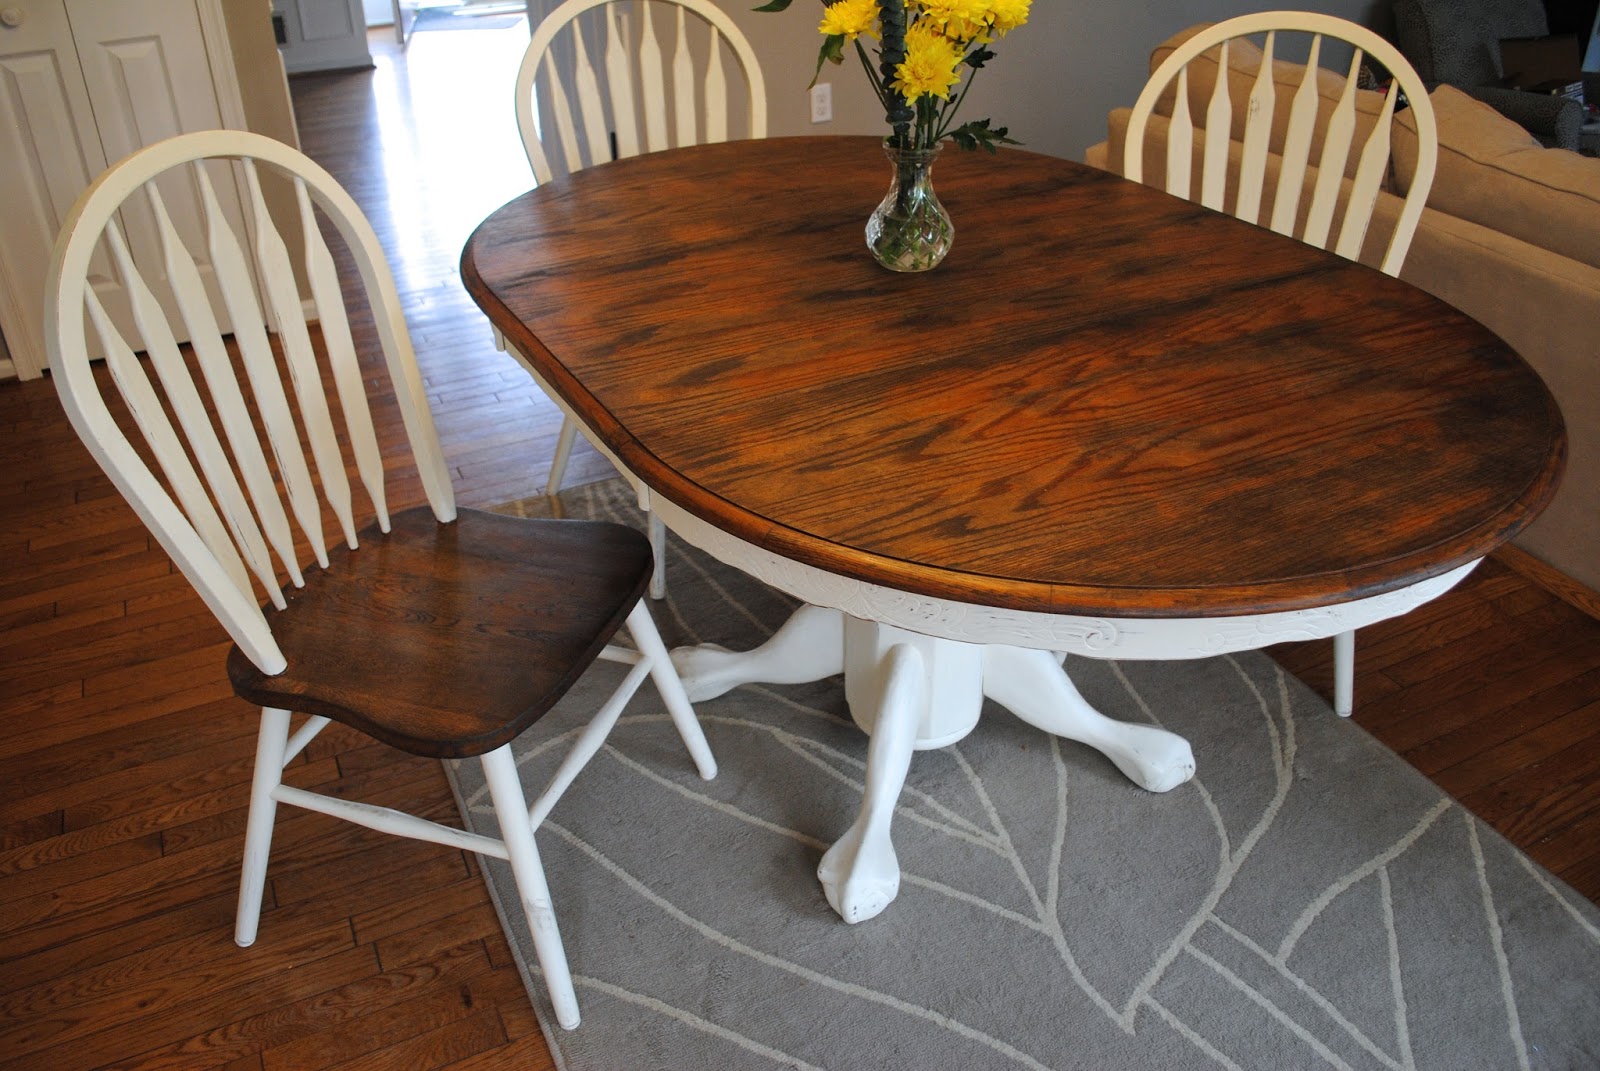
 all the areas she was leaving wood just enough to get the top protective layer off. After a damp rag wipe off she was ready to stain. On the wood parts she used a dark walnut wood stain
 and finished with a matte finish polyurethane
 . The white paint is Annie Sloan 'Old White' color. After it dried, she lightly sanded the painted surfaces giving it a distressed antique look.